
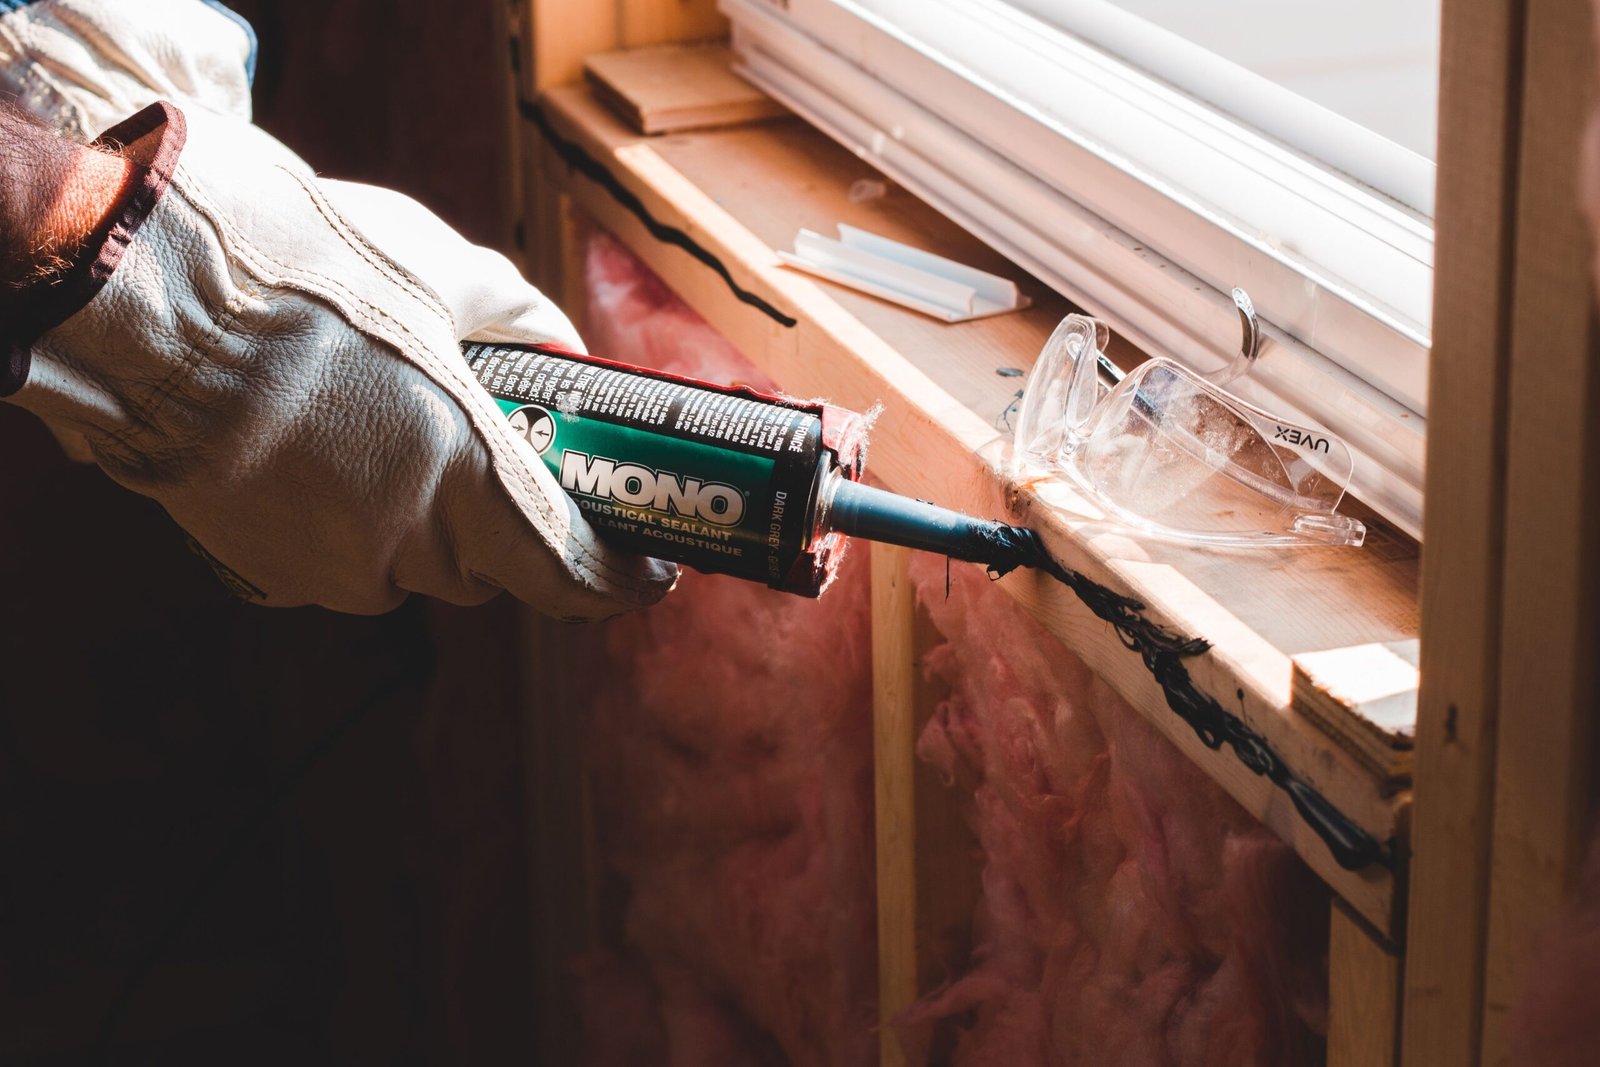
Windows bring natural light into your home, but damaged seals can allow unwanted air, moisture, and dust to enter. If you notice a cold draft near a closed window, cracked caulk around the frame, or water marks after heavy rain, it may be time to reseal your windows.
The good news is that many window sealing jobs are manageable DIY projects. With the right sealant, a few basic tools, and proper preparation, you can repair small gaps, improve indoor comfort, and help protect the surrounding frame from moisture damage.
Learning how to reseal windows starts with identifying where the problem is occurring. A gap between the window frame and the wall usually needs caulk or another suitable sealant. A leak between the moving window sash and its frame may require new weatherstripping instead. Understanding this difference helps you avoid repairs that look good but fail to solve the actual problem.
This guide explains how to inspect your windows, choose the right materials, remove old caulk, apply a new seal, and recognize when professional repairs are the better option.
Why Should You Reseal Your Windows?
Window seals gradually wear down because of temperature changes, sunlight, moisture, and normal movement in the building. Older caulk may become brittle, shrink, crack, or pull away from the surfaces it was supposed to protect.
Even a small gap can make a room less comfortable. During cold weather, outside air may enter around the frame. In hot weather, warm air can find its way indoors, making air conditioning work harder. Gaps can also allow rainwater to reach vulnerable parts of the wall if the surrounding window assembly is not properly protected.
Resealing windows can provide several benefits:
- Reduce drafts: Sealing suitable gaps helps limit unwanted airflow around stationary parts of the window.
- Improve comfort: Fewer drafts can make rooms feel more comfortable throughout the year.
- Help manage energy use: Reducing air leakage may help heating and cooling systems maintain indoor temperatures.
- Protect against moisture: Proper exterior sealing helps keep water out of vulnerable joints.
- Discourage pests and dust: Closing suitable gaps can reduce entry points around the frame.
- Improve appearance: Fresh, neatly applied caulk creates a cleaner finish around window trim.
The US Department of Energy recommends addressing air leaks as part of home energy improvements, while ENERGY STAR identifies window caulking and weatherstripping as practical ways to reduce drafts. However, resealing will not fix every window problem. Damaged frames, failed insulated glass seals, and defective flashing may require more extensive repairs.
How to Tell If Your Windows Need Resealing
Before buying materials, inspect the window carefully. Finding the source of the problem is just as important as applying a new seal.
Look for cracked or peeling caulk
Examine the joint where the stationary window frame meets the surrounding trim, siding, or wall. Look for cracks, gaps, brittle material, or sections that have separated from the surface.
Pay particular attention to corners and joints, where sealant can deteriorate or pull away over time. If the existing caulk is loose or damaged, replacing it may restore the seal.
Check for drafts
On a breezy day, close the window and feel around the frame for moving air. You can also hold a thin strip of tissue near the suspected gap and observe whether it moves.
Keep the test simple and avoid open flames near curtains, blinds, or other flammable materials. If you cannot locate the leak, a professional air leakage assessment may help.
Inspect for moisture damage
Look for water stains, peeling paint, soft wood, discoloration, or persistent dampness near the frame. These signs may indicate water intrusion, but they can also result from condensation or a leak elsewhere in the wall.
Do not simply cover damp or deteriorating materials with new caulk. Find and address the underlying moisture source first. Extensive rot, persistent leaks, or visible mold may require professional attention.
Check the moving parts
Open and close the window to see whether it operates smoothly. Inspect any rubber seals or weatherstripping along the sash, tracks, and meeting rails.
If the draft comes from a moving joint, exterior caulk may not be the right solution. Operable windows need seals that allow them to open and close correctly.
What Materials Do You Need to Reseal Windows?
Gather your tools before starting. Having everything ready makes it easier to remove old material, prepare the joint, and apply a smooth new bead.
Typical supplies include:
- A caulking gun, if your sealant comes in a cartridge.
- A utility knife or dedicated caulk removal tool.
- A plastic scraper or suitable putty knife.
- A clean cloth or rag.
- A mild cleaner compatible with the window material.
- Painter’s tape for neat edges, if needed.
- Exterior-rated window and door sealant for outdoor joints.
- Interior-rated caulk for suitable indoor trim joints.
- Gloves and safety glasses.
- A stable work platform where required.
Choose the right sealant
The best sealant depends on the surfaces involved and whether the joint is indoors or outdoors.
Exterior silicone sealant: Suitable products offer flexibility and resistance to weather and moisture. Check that the product is specifically approved for window and door applications and compatible with the frame and surrounding material. Many 100% silicone products are not paintable.
Paintable acrylic latex or siliconized acrylic caulk: These products can work well for certain interior trim joints and paintable surfaces. Some formulations are also rated for exterior use, so check the label rather than assuming every acrylic product is suitable outdoors.
Polyurethane sealant: Certain polyurethane products are designed for exterior construction joints and offer strong adhesion and flexibility. They may require more careful handling and surface preparation.
Weatherstripping: Foam, rubber, or other weatherstripping products are used around moving parts, such as an operable sash. They help create a seal when the window closes without permanently bonding the moving sections together.
Avoid choosing a product based on price alone. Read the manufacturer’s directions for compatible materials, application temperatures, joint dimensions, curing time, and whether the sealant can be painted.
How to Reseal Windows Step by Step
For a typical repair involving damaged caulk between a stationary window frame and surrounding trim, follow these steps. Always follow the instructions supplied with your chosen sealant.
Step 1: Inspect and prepare the area
Identify the damaged joint and check whether the surrounding materials are sound. Look for rot, loose trim, crumbling masonry, damaged siding, or signs that water is entering behind the frame.
Choose a dry period with temperatures within the sealant manufacturer’s recommended range. Rain, frost, excessive heat, and damp surfaces can interfere with application or curing.
If you need to work outside, use a safe, stable setup. Do not lean out of an upper-story window or attempt exterior work from an unsafe ladder position.
Step 2: Remove the old caulk
Use a caulk removal tool or carefully controlled utility knife to cut along the edges of the old sealant. Pull away loose sections and scrape off remaining residue without scratching the frame, damaging glass, or cutting into flashing and other protective layers.
Take extra care with vinyl frames, painted wood, and delicate trim. Aggressive scraping or excessive heat can damage these materials.
For a durable repair, remove the failed sealant rather than applying a thick layer over it. New caulk often adheres poorly to loose, dirty, or incompatible old material.
Step 3: Clean and dry the joint
Remove dust, loose particles, grease, and remaining debris. Use a mild cleaner suitable for the surface, then allow the joint to dry completely.
Inspect the gap again after cleaning. If the material behind the caulk is soft, rotten, or crumbling, stop and repair that damage before resealing.
For deeper gaps, a compatible backer rod may be needed to support the sealant and help create the correct joint shape. Follow the sealant manufacturer’s guidance on gap dimensions and backing materials. Do not fill large structural openings with caulk alone.
Step 4: Prepare the sealant tube
Load the cartridge into the caulking gun and cut the nozzle at an angle. Begin with a relatively small opening so you can control the amount of sealant.
If the cartridge has an inner seal, open it according to the manufacturer’s directions. Test the flow on a scrap surface before applying the sealant to the window.
Painter’s tape can help create straight edges, especially if you are new to caulking. Place it on either side of the joint without covering the area that needs to bond.
Step 5: Apply a continuous bead
Hold the gun at a consistent angle and apply steady pressure while moving along the joint. Aim to fill the gap with a continuous, even bead rather than applying a series of disconnected blobs.
Work in manageable sections and maintain contact between the sealant and both sides of the joint. Pay close attention to corners and transitions, where small openings can remain unnoticed.
Do not block designed drainage openings, weep holes, or other features intended to let water escape from the window assembly. These openings serve a purpose and should not be sealed over.
Step 6: Smooth the sealant
Use a compatible caulk finishing tool to press and shape the bead according to the product instructions. The goal is good contact with the joint surfaces, not simply a smooth appearance.
Remove excess material before it skins over. If you used painter’s tape, remove it at the stage recommended by the sealant manufacturer, usually while the material is still workable.
Avoid excessive smoothing that pulls sealant out of the gap. Follow any guidance about using water or finishing solutions, since not every product is compatible with the same method.
Step 7: Allow the seal to cure
Leave the repaired joint undisturbed for the time stated on the product label. Some sealants become touch-dry relatively quickly but need longer to cure fully.
Keep rain, washing, and other moisture away for the recommended period. Avoid painting over the bead until the manufacturer says it is ready for paint.
Once the seal has cured, inspect it for visible gaps, peeling, or areas that failed to bond. If the joint remains open or water continues to enter, investigate the underlying cause rather than repeatedly adding more caulk.
Common Window Resealing Mistakes to Avoid
Even a straightforward DIY repair can fail when the wrong material or method is used.
Applying new caulk over damaged old sealant: Loose or cracked material prevents reliable bonding. Remove the failed caulk and prepare the surface first.
Sealing a wet or dirty surface: Moisture, dust, and residue can interfere with adhesion. Clean the joint and let it dry completely before applying sealant.
Using the wrong product: Interior-only caulk may deteriorate when exposed to outdoor weather. Choose a sealant rated for the location and materials involved.
Using caulk on moving parts: A window sash must remain operable. Use suitable weatherstripping for moving joints instead of permanently bonding them shut.
Blocking drainage openings: Some window frames are designed to drain water through specific openings. Sealing these features can trap moisture and make leaks worse.
Ignoring damaged wood or flashing: Caulk is not a substitute for repairing rotten framing, defective flashing, or serious installation problems. Address the underlying issue before closing the joint.
Applying too much sealant: An excessively large bead can look untidy, cure poorly, or fail to perform as intended. Use the amount recommended for the joint and product.
Opening or disturbing the window too soon: Movement before the sealant has cured can damage the new bead. Allow sufficient curing time and follow the manufacturer’s instructions.
How to Maintain Window Seals and Know When to Call a Professional
Inspect your window seals at least once a year, and check them again before periods of heavy rain or extreme seasonal weather. Look for cracks, gaps, peeling caulk, loose weatherstripping, and changes in how the window opens or closes.
The useful maintenance schedule is based on the condition of the seal, not just its age. Some products may last several years, while joints exposed to strong sunlight, frequent rain, or substantial movement may deteriorate sooner. Replace damaged material when needed instead of waiting for a leak to appear.
For moving windows, inspect the weatherstripping and replace worn sections with compatible products. Make sure the window closes securely and its locking hardware works properly. A poorly adjusted sash may need adjustment rather than additional sealant.
Call a qualified window installer or building professional if you notice any of the following:
- Water repeatedly enters during rain despite intact surface caulk.
- The frame is rotten, warped, loose, or visibly deteriorating.
- Water damage extends into the surrounding wall.
- The window has failed insulated glass, such as persistent fogging between panes.
- The source of the leak is unclear.
- Repairs require removing siding, trim, or flashing.
- The window is high above the ground and cannot be reached safely.
Proper flashing and water management are important parts of the window assembly. A bead of exterior caulk cannot correct every drainage or installation defect. For difficult leaks, professional diagnosis can help prevent repeated repairs and hidden moisture damage.
Frequently Asked Questions About Resealing Windows
How often should windows be resealed?
There is no single schedule for every window. Sealant lifespan depends on the product, surface preparation, weather exposure, and movement in the joint. Inspect annually and replace caulk when it cracks, peels, shrinks, or separates from the surface.
Should I reseal windows from the inside or outside?
It depends on the source of the leak and the construction of the window. Exterior caulk helps protect suitable frame-to-wall joints from weather. Interior sealing can help control air leakage at appropriate joints. Some repairs require attention to both sides, but do not seal drainage paths or cover a problem that needs to be repaired first.
What is the best caulk for exterior windows?
A quality exterior-rated silicone, siliconized acrylic, or other compatible window and door sealant can work well, depending on the joint and materials. Check the product label for weather resistance, movement capability, paintability, and compatibility with the window frame.
Can I reseal windows without removing the old caulk?
It is sometimes possible to make a small repair using a compatible product, but applying new caulk over failed, loose, or contaminated material usually creates a weaker seal. Removing the damaged sealant and preparing the surface is generally the more reliable approach.
Will resealing windows reduce energy bills?
It may help by reducing unwanted air leakage around suitable joints. The actual savings depend on how much air was leaking, the climate, your heating or cooling system, and other factors affecting household energy use. Resealing is not a substitute for addressing inadequate insulation or a poorly performing window.
Can I use expanding foam around a window?
Low-expansion foam specifically designed for windows and doors may be suitable for certain gaps between the window jamb and the rough opening, often behind trim. It is not a universal substitute for exterior caulk, flashing, or weatherstripping. Use it only where the installation design permits it, and avoid excessive application that could distort the frame.
Final Thoughts
Learning how to reseal windows is a practical home maintenance skill that can help reduce drafts, improve comfort, and protect suitable joints from moisture. The key is to identify the actual leak, select a compatible sealant, remove failed material, clean and dry the surface, and apply the new bead carefully.
Remember that stationary frame joints, moving sash seals, and hidden installation gaps may require different repair methods. Take time to inspect the entire area, preserve drainage openings, and allow the sealant to cure properly.
With regular inspections and timely repairs, you can keep your windows in better condition and address small sealing problems before they become more expensive issues. If the frame is damaged or water continues to enter, seek professional advice rather than relying on another layer of caulk.












Leave a Reply